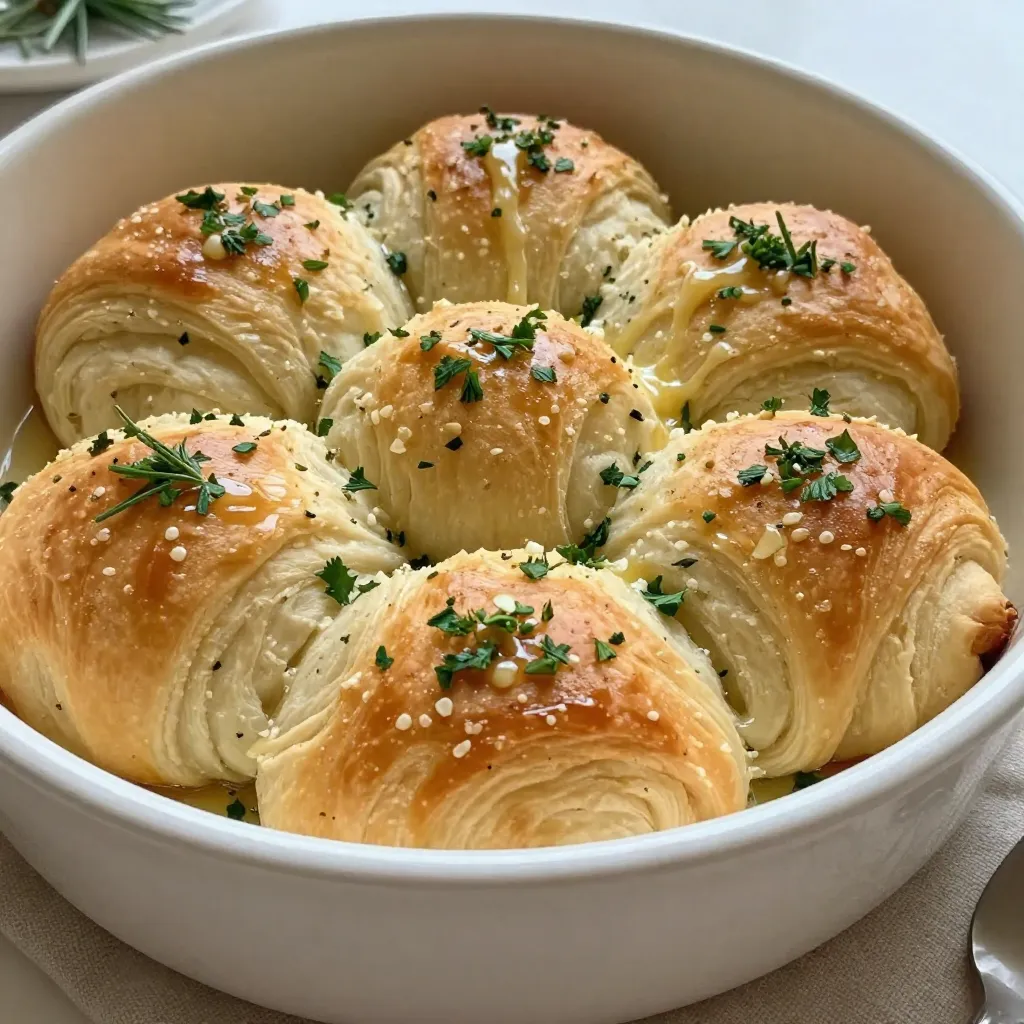
Get ready to spoil your taste buds with my Garlic Herb Pull-Apart Rolls! These soft, buttery rolls are packed with amazing flavor and are perfect for any meal or snack. I’ll guide you through a simple step-by-step process so that even a beginner can create these cozy baking treats. Let’s dive into the ingredients and get started on this warm, savory delight that will have everyone coming back for more!
Why I Love This Recipe
- Deliciously Flavorful: These rolls are infused with garlic and fresh herbs, making them an irresistible addition to any meal.
- Fun to Pull Apart: The pull-apart style makes them perfect for sharing, adding a fun element to gatherings and family dinners.
- Easy to Make: With simple ingredients and straightforward instructions, even beginner bakers can achieve great results.
- Perfectly Soft Texture: These rolls come out light and fluffy, making them the ideal accompaniment to soups, salads, or just on their own.
Ingredients
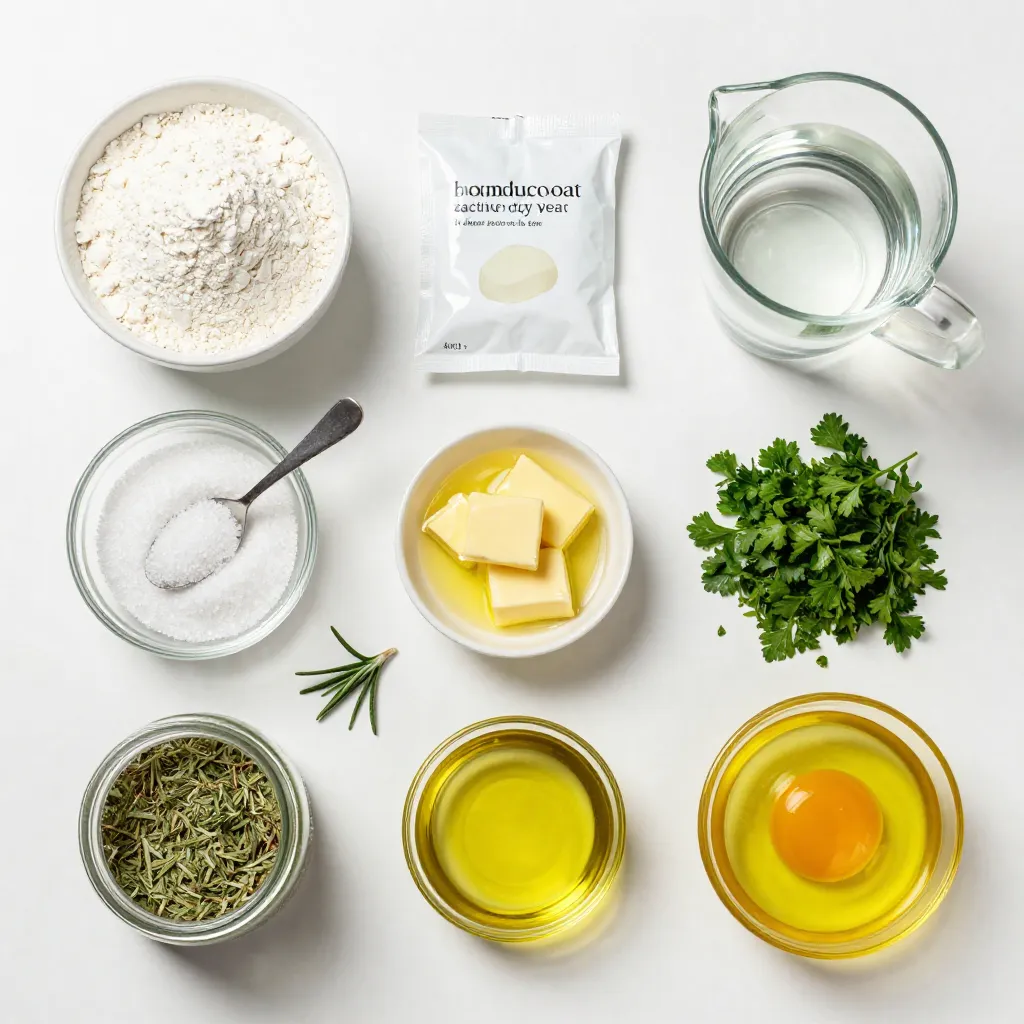
To make the perfect Garlic Herb Pull-Apart Rolls, you need a few simple items. Here’s the list of ingredients you’ll need:
– 3 cups all-purpose flour
– 1 packet (2 ¼ teaspoons) active dry yeast
– 1 teaspoon sugar
– 1 teaspoon salt
– 1 cup warm water (about 110°F)
– 3 tablespoons garlic butter (melted)
– 2 tablespoons fresh parsley, finely chopped
– 1 tablespoon fresh rosemary, finely chopped
– ½ teaspoon dried oregano
– ½ teaspoon dried thyme
– 2 tablespoons olive oil
– 1 egg (for egg wash)
Each ingredient plays a key role. The all-purpose flour gives the rolls their structure. Yeast is the magic that makes them rise. Sugar feeds the yeast, while salt enhances the flavor. Warm water activates the yeast, ensuring your rolls are light and fluffy.
Garlic butter adds a rich, savory taste, and fresh herbs bring a burst of flavor. Olive oil keeps the dough moist and helps with texture. Finally, the egg wash gives the rolls a beautiful golden finish.
Gather these ingredients, and you’re ready to start baking!
Step-by-Step Instructions
Prepare the Yeast Mixture
– First, combine warm water, sugar, and yeast in a small bowl.
– Let it sit for about 5 to 10 minutes. You want it to become frothy. This shows the yeast is alive and ready to work.
Make the Dough
– In a large bowl, mix the flour and salt.
– Create a well in the center and add the yeast mixture and olive oil.
– Stir until the mix turns sticky. This means the dough is forming.
Knead and Rise
– Transfer the sticky dough to a floured surface.
– Knead it for about 5 to 7 minutes. You want it smooth and elastic.
– Place it in a greased bowl and cover it. Let it rise in a warm spot for 1 hour. The dough should double in size.
Form the Rolls
– After it has risen, punch down the dough to release air.
– Divide it into small pieces, about 1 to 2 inches each.
– Roll each piece into a ball. This helps shape the rolls.
– For flavor, coat them in the garlic herb mixture.
Second Rise and Bake
– Arrange the coated dough balls in a greased baking pan.
– Stack them slightly on top of each other.
– Cover with a cloth and let them rise again for 30 minutes.
– Preheat your oven to 375°F (190°C).
– Brush the tops with egg wash for a golden finish.
– Bake for 20 to 25 minutes until they turn golden brown.
– Let them cool slightly before pulling apart. Enjoy!
Tips & Tricks
Perfecting the Dough Texture
To get the best rolls, knead the dough for about 5-7 minutes. This time helps the gluten form, giving the rolls a nice texture. If your dough feels too sticky, add a little more flour. In humid weather, you may need to adjust the flour. A good way to check is to see if the dough sticks to your hands. If it does, sprinkle a bit more flour in.
Enhancing the Garlic Flavor
Using homemade garlic butter makes a big difference. You can easily make it by melting butter and mixing in minced garlic. This adds a rich flavor to your rolls. To boost the taste, add more herbs. You can use extra parsley or even some thyme. Fresh herbs give a vibrant taste that’s hard to beat.
Achieving a Golden Crust
An egg wash is key to a beautiful finish. Just whisk one egg and brush it on top of the rolls before baking. This step gives your rolls a lovely golden color. Keep an eye on baking time, too. If you notice the tops browning too quickly, cover them with foil. Adjusting the time will help you get that perfect crust.
Pro Tips
- Use Fresh Herbs: Fresh herbs like parsley and rosemary enhance the flavor of the rolls significantly compared to dried herbs.
- Proper Rising Temperature: Ensure the dough rises in a warm, draft-free area to achieve the best rise and texture.
- Coat Evenly: When dipping the dough balls in the garlic herb mixture, make sure they are completely coated for maximum flavor.
- Check for Doneness: The rolls should be golden brown on top; if unsure, tap the bottom and listen for a hollow sound indicating they are fully baked.
Variations
Herb Combinations
You can mix it up with herbs. If you don’t have rosemary, use thyme or basil instead. Thyme adds a warm, earthy flavor. Basil gives a sweet touch. Other herbs like dill or tarragon can also work well. Feel free to get creative and find your favorite blend.
Cheese Additions
Cheese can take these rolls to the next level. Adding mozzarella gives a nice stretch. Cheddar adds a sharp flavor that many love. You can even mix your herbs with the cheese. It creates a tasty, flavorful twist. Try a blend of Italian herbs for a unique taste.
Gluten-Free Version
Making this recipe gluten-free is easy. You can use almond flour or a gluten-free blend. Look for options that include xanthan gum for a better texture. Adjust the liquid as needed. Gluten-free dough can be stickier, so add flour slowly. This way, you’ll create soft, pull-apart rolls everyone can enjoy.
Storage Info
Best Ways to Store
To keep your Garlic Herb Pull-Apart Rolls fresh, store them at room temperature. Place the rolls in an airtight container or wrap them in plastic wrap. They stay good for about 2-3 days this way. Avoid putting them in the fridge, as this can dry them out.
If you want to save them for longer, freezing is the best option. Wrap each roll in plastic wrap and then place them in a freezer bag. They can last up to three months in the freezer. When you want to enjoy them again, just take out the number you need.
Reheating Instructions
When it comes to reheating, the oven is the best choice. Preheat your oven to 350°F (175°C). Place the rolls on a baking tray and cover them with aluminum foil. Heat for about 10-15 minutes until warm. This method keeps the rolls soft and fluffy.
You can use a microwave too, but it can make the rolls tough. If you choose this method, heat them for 10-15 seconds. Check to see if they need more time. Adding a splash of water on a plate can help keep them moist.
FAQs
How do I know if the dough has risen enough?
Look for these signs during the rising process:
– The dough should double in size.
– It feels soft and puffy when pressed.
– You may see air bubbles on the surface.
These signs show your dough is ready for the next step.
Can I make the dough ahead of time?
Yes, you can prepare the dough ahead of time. Here are some tips:
– Make the dough and let it rise.
– After the first rise, punch it down and wrap it tightly.
– Store it in the fridge for up to 24 hours.
– When ready, let it come to room temperature before shaping.
What can I serve with Garlic Herb Pull-Apart Rolls?
These rolls pair well with many dishes. Here are some ideas:
– Serve with pasta and marinara sauce.
– Enjoy with soups or stews for a comforting meal.
– Pair with a fresh salad and vinaigrette.
– Try them with dips like hummus or spinach dip for snacking.
This post discussed ingredients, steps, and tips for making Garlic Herb Pull-Apart Rolls. It covered everything from yeast activation to flavorful variations. You learned about texture, storage, and reheating too. With these tips, you can create soft, tasty rolls that impress everyone. Don’t hesitate to experiment with flavors and share your results. Happy bakin