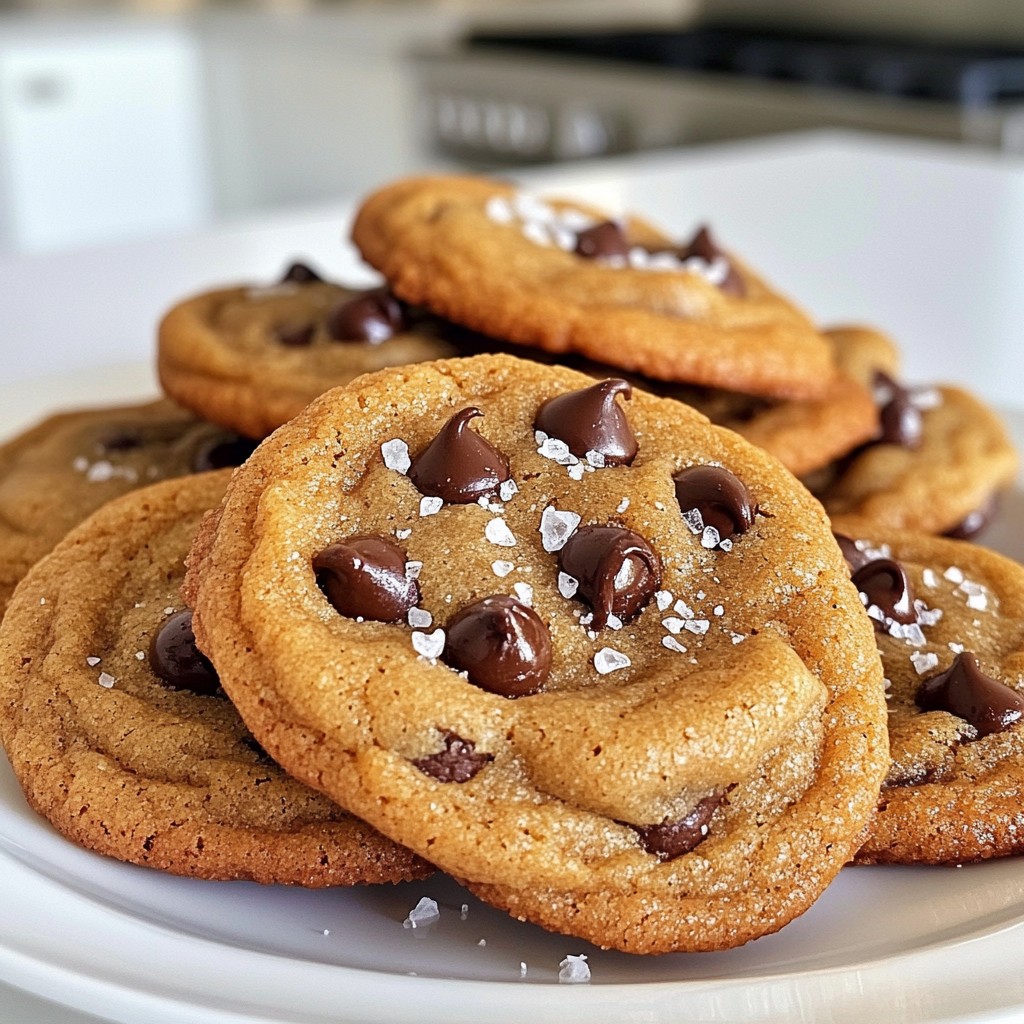
Get ready to elevate your cookie game with my Brown Butter Chocolate Chip Cookies! This delightful recipe combines rich, nutty flavors with gooey chocolate chips for a treat you won't forget. I'll guide you through each simple step, from selecting quality ingredients to mastering the browning technique. Whether you’re a baking novice or a seasoned pro, you’ll find tips and tricks to make these cookies perfect every time. Let’s bake something amazing together!
Why I Love This Recipe
- Rich Flavor: The brown butter adds a deep, nutty flavor that elevates the classic chocolate chip cookie to a whole new level.
- Chewy Texture: The combination of brown sugar and the chilling step ensures the cookies are perfectly chewy with a slight crisp on the edges.
- Easy and Quick: This recipe is straightforward and can be whipped up in under an hour, making it perfect for a last-minute treat.
- Customizable: Feel free to mix in your favorite nuts or swap in different types of chocolate chips for a personalized touch!
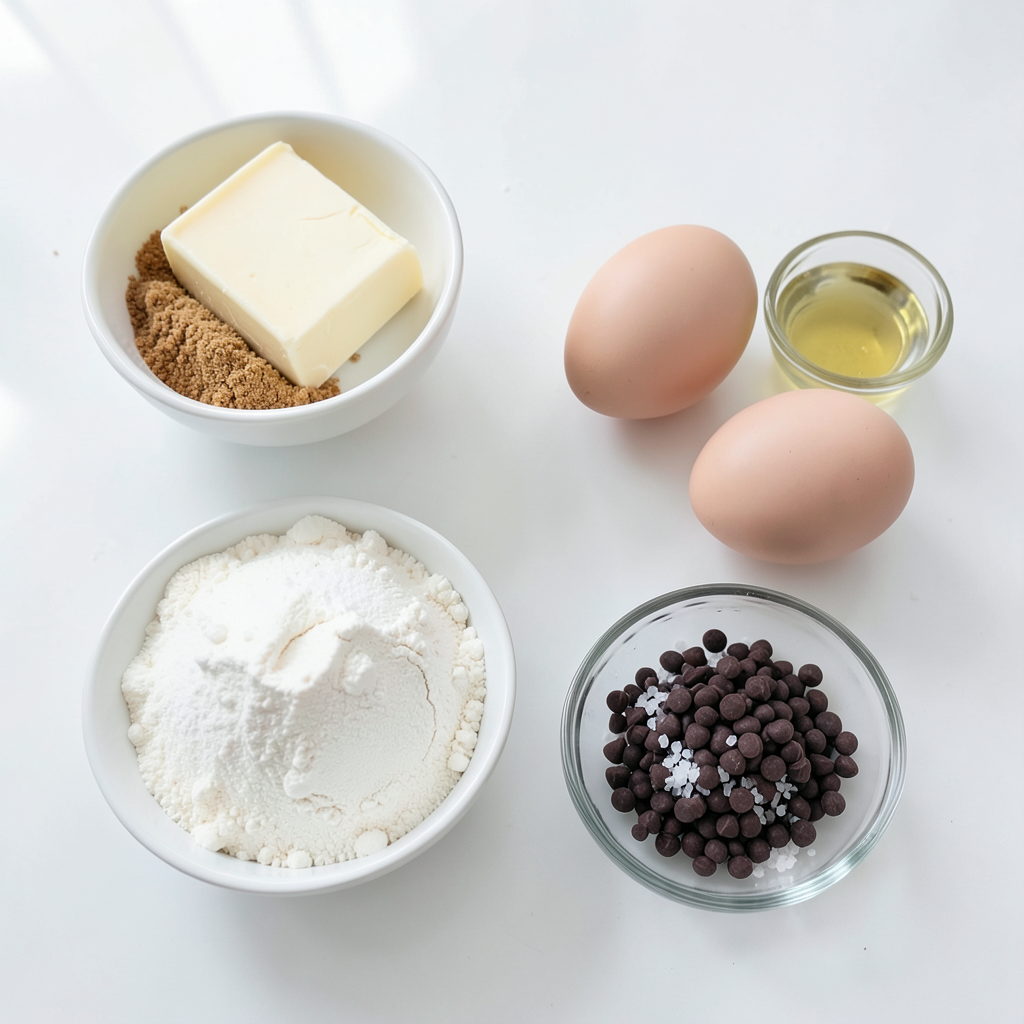
Ingredients
List of Ingredients
- 1 cup (2 sticks) unsalted butter
- 1 cup brown sugar, packed
- 1/2 cup granulated sugar
- 2 large eggs
- 2 teaspoons vanilla extract
- 3 cups all-purpose flour
- 1 teaspoon baking soda
- 1/2 teaspoon salt
- 1 1/2 cups semi-sweet chocolate chips
- Flaky sea salt for sprinkling
Importance of Quality Ingredients
Using quality ingredients makes a big difference in your cookies. Fresh butter adds richness. Brown sugar gives a deep, caramel flavor. I recommend using real vanilla extract. It enhances the taste more than imitation. Good chocolate chips melt beautifully and create gooey pockets of joy. Always choose ingredients that you trust and enjoy. This ensures that your cookies taste amazing.
Substitutes for Common Ingredients
If you’re missing an ingredient, don't worry! Here are some easy swaps:
- Unsalted butter can be replaced with salted butter. Just skip the added salt.
- For brown sugar, you can mix white sugar with molasses. Use 1 cup of white sugar plus 1 tablespoon of molasses.
- If you need a vegan option, use flax eggs. Mix 1 tablespoon of ground flaxseed with 2.5 tablespoons of water for each egg.
- For all-purpose flour, you can use gluten-free flour blends. Just make sure to follow the package instructions for best results.
These substitutes help you keep baking, no matter the situation!
Step-by-Step Instructions
Detailed Cooking Process
Start by browning the butter. Use a medium saucepan over medium heat. Melt 1 cup of unsalted butter. Swirl the pan often. You want the butter to turn golden brown and smell nutty. This takes about 5 to 7 minutes. Once it’s done, take it off the heat and let it cool a bit.
Next, in a large bowl, mix the browned butter with 1 cup of packed brown sugar and 1/2 cup of granulated sugar. Whisk them until smooth. Now, add 2 large eggs one at a time. Pour in 2 teaspoons of vanilla extract. Mix well until everything is combined.
In another bowl, whisk together 3 cups of all-purpose flour, 1 teaspoon of baking soda, and 1/2 teaspoon of salt. Gradually add this dry mix into the wet ingredients. Stir gently until just combined. Do not over-mix.
Now it’s time for the best part! Fold in 1 1/2 cups of semi-sweet chocolate chips. Make sure they are evenly spread throughout the dough.
Tips for Browning Butter
Browning butter adds a rich flavor to your cookies. Watch it closely as it cooks. It can go from brown to burnt quickly. If you see brown bits forming at the bottom, it’s a good sign. That means you’re close! The nutty smell is also a great hint that it’s ready. Use a light-colored pan if you can. This helps you see the butter’s color change better.
Chilling the Dough: Benefits and Recommendations
Chilling the dough is a great step. I suggest covering the dough and placing it in the fridge for at least 30 minutes to an hour. This helps the flavors blend well. It also improves the cookie's texture. Chilled dough spreads less while baking, giving you thicker cookies. If you’re short on time, you can skip this step, but I recommend it for the best result.
Tips & Tricks
Perfecting the Texture
To get the best texture, you must brown the butter right. Watch it closely as it cooks. Swirl the pan to keep the heat even. You want a deep golden color and a nutty smell. This step adds flavor and helps the cookies stay soft. Chilling the dough is key too. It makes the cookies thick and chewy. Aim for at least 30 minutes in the fridge.
Achieving the Ideal Cookie Shape
When you scoop the dough, use a cookie scoop for even sizes. This keeps your cookies uniform and helps them bake evenly. Space them well on the baking sheet, about two inches apart. This allows them to spread without merging. To enhance the look, sprinkle flaky sea salt on top before baking. It adds a nice touch and balances the sweetness.
Storage Tips for Fresh Cookies
To keep your cookies fresh, store them in an airtight container. Line the bottom with parchment paper to absorb moisture. If you want them to stay soft, add a slice of bread to the container. The cookies will absorb moisture from the bread. For longer storage, freeze the unbaked dough. Scoop it onto a baking sheet, freeze until firm, then transfer to a bag. When you're ready, bake straight from the freezer!
Pro Tips
- Brown the Butter Carefully: Keep an eye on the butter as it cooks to avoid burning. The perfect brown butter should have a rich nutty aroma and a golden color.
- Chill the Dough: Refrigerating the cookie dough for at least 30 minutes enhances the flavor and helps achieve a thicker, chewier cookie.
- Use Quality Chocolate Chips: Opt for high-quality semi-sweet chocolate chips for a richer flavor in every bite.
- Don’t Overbake: For perfect cookies, take them out of the oven when the edges are golden but the centers look slightly underbaked. They’ll continue to set as they cool.
Variations
Nut Additions: Walnuts, Pecans, or Hazelnuts
You can add nuts to your cookies for a tasty crunch. Walnuts, pecans, and hazelnuts work best. Just chop them coarsely and fold them into the dough with the chocolate chips. About one cup of nuts is perfect. They add flavor and a nice texture. If you want a fun twist, try toasting the nuts first. This brings out their rich flavor.
Flavor Infusions: Using Different Extracts
You can mix in different extracts to change the cookie flavor. Besides vanilla, consider almond or hazelnut extracts. Just add one teaspoon of your chosen extract with the eggs. Be careful with strong flavors. A little goes a long way. Experimenting helps you find your favorite combination.
Alternative Chocolate Options
While semi-sweet chocolate chips are a classic choice, feel free to swap them out. Dark chocolate or milk chocolate chips can add a new taste. You can also use chocolate chunks for a more rustic look. For a fun flavor, try peanut butter or butterscotch chips. Mixing different types of chocolate can make your cookies extra special.
Serving Suggestions
Pairing with Beverages
Brown butter chocolate chip cookies go great with many drinks. Try them with cold milk. The milk cools the warm, gooey chocolate. For an adult twist, pair with coffee or dark roast. The rich flavors blend perfectly. You can also try a sweet dessert wine. Each sip enhances the cookie's taste.
Presentation Ideas for Cookies
To make your cookies stand out, serve them on a rustic wooden board. A colorful plate can also add fun to your display. For a special touch, add a small bowl of extra chocolate chips. You can even serve a scoop of ice cream on the side. This creates a dessert that looks as good as it tastes.
Creative Serving Alternatives
Think outside the box with serving ideas. Use these cookies as a base for ice cream sandwiches. Just add a scoop of your favorite ice cream between two cookies. You can also crumble cookies over yogurt for a tasty breakfast. These options make your cookies fun and versatile.
FAQs
Why Brown Butter?
Brown butter adds a rich, nutty flavor that makes these cookies special. It gives them depth and warmth. When you cook the butter, the milk solids brown and create a toasty aroma. This flavor enhances the sweetness of the chocolate chips. You will notice a difference in taste. It's a small step, but it boosts the whole cookie experience.
Can I Freeze the Cookie Dough?
Yes, you can freeze the cookie dough! It’s a great way to save time. Just scoop the dough into balls and place them on a baking sheet. Freeze for about an hour until firm. Then, transfer the balls to a freezer bag. They can stay good for up to three months. When you want to bake, just bake them from frozen. Add a couple of extra minutes to the baking time.
How Should I Store Leftover Cookies?
Store leftover cookies in an airtight container at room temperature. This keeps them soft and fresh. If you want them to last longer, you can put them in the fridge. Just let them come back to room temperature before eating. You can also freeze baked cookies. Wrap them well and store them in a freezer bag. They will stay good for about two months.
What Makes These Cookies Chewy vs. Crispy?
The texture of the cookies depends on a few things. First, if you chill the dough, it makes them chewier. This helps the flavors blend and keeps them thick. Second, the baking time matters. For chewy cookies, bake until the edges are golden but the center looks slightly underbaked. For crispier cookies, bake a bit longer until they are golden all around. Lastly, using more brown sugar than white sugar also leads to a chewier cookie.
In this blog post, we explored key ingredients and their quality for perfect cookies. I shared step-by-step instructions, tips for browning butter, and chilling dough for the best texture. We discussed variations, substitutions, and storage to keep cookies fresh. Lastly, I offered fun serving ideas and answered common questions.
Remember, quality matters. Enjoy baking, and don’t hesitate to experiment! Your cookies will taste even better.